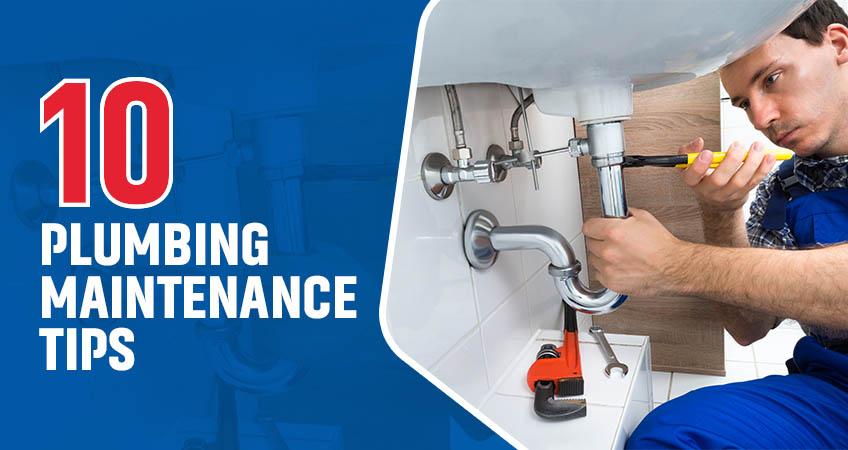
A leaking or dripping tap might seem like a minor inconvenience, but it can waste a significant amount of water over time and lead to higher utility bills. Tackling this issue sooner rather than later is key. This step-by-step guide will help DIY enthusiasts, homeowners, and plumbing novices fix a leaking tap efficiently and effectively.
Identifying the type of tap
Before you can start fixing your tap, you need to identify the type of tap you have. Common types include:
- Compression taps: These have separate hot and cold handles. They use rubber washers to seal the valve seat.
- Ceramic disc taps: These have a single lever or two handles and use ceramic discs inside the valve body.
- Ball taps: These have a single handle that moves over a rounded cap. They use a ball bearing to control water flow.
- Cartridge taps: These can have either one or two handles and use a movable cartridge to control water flow.
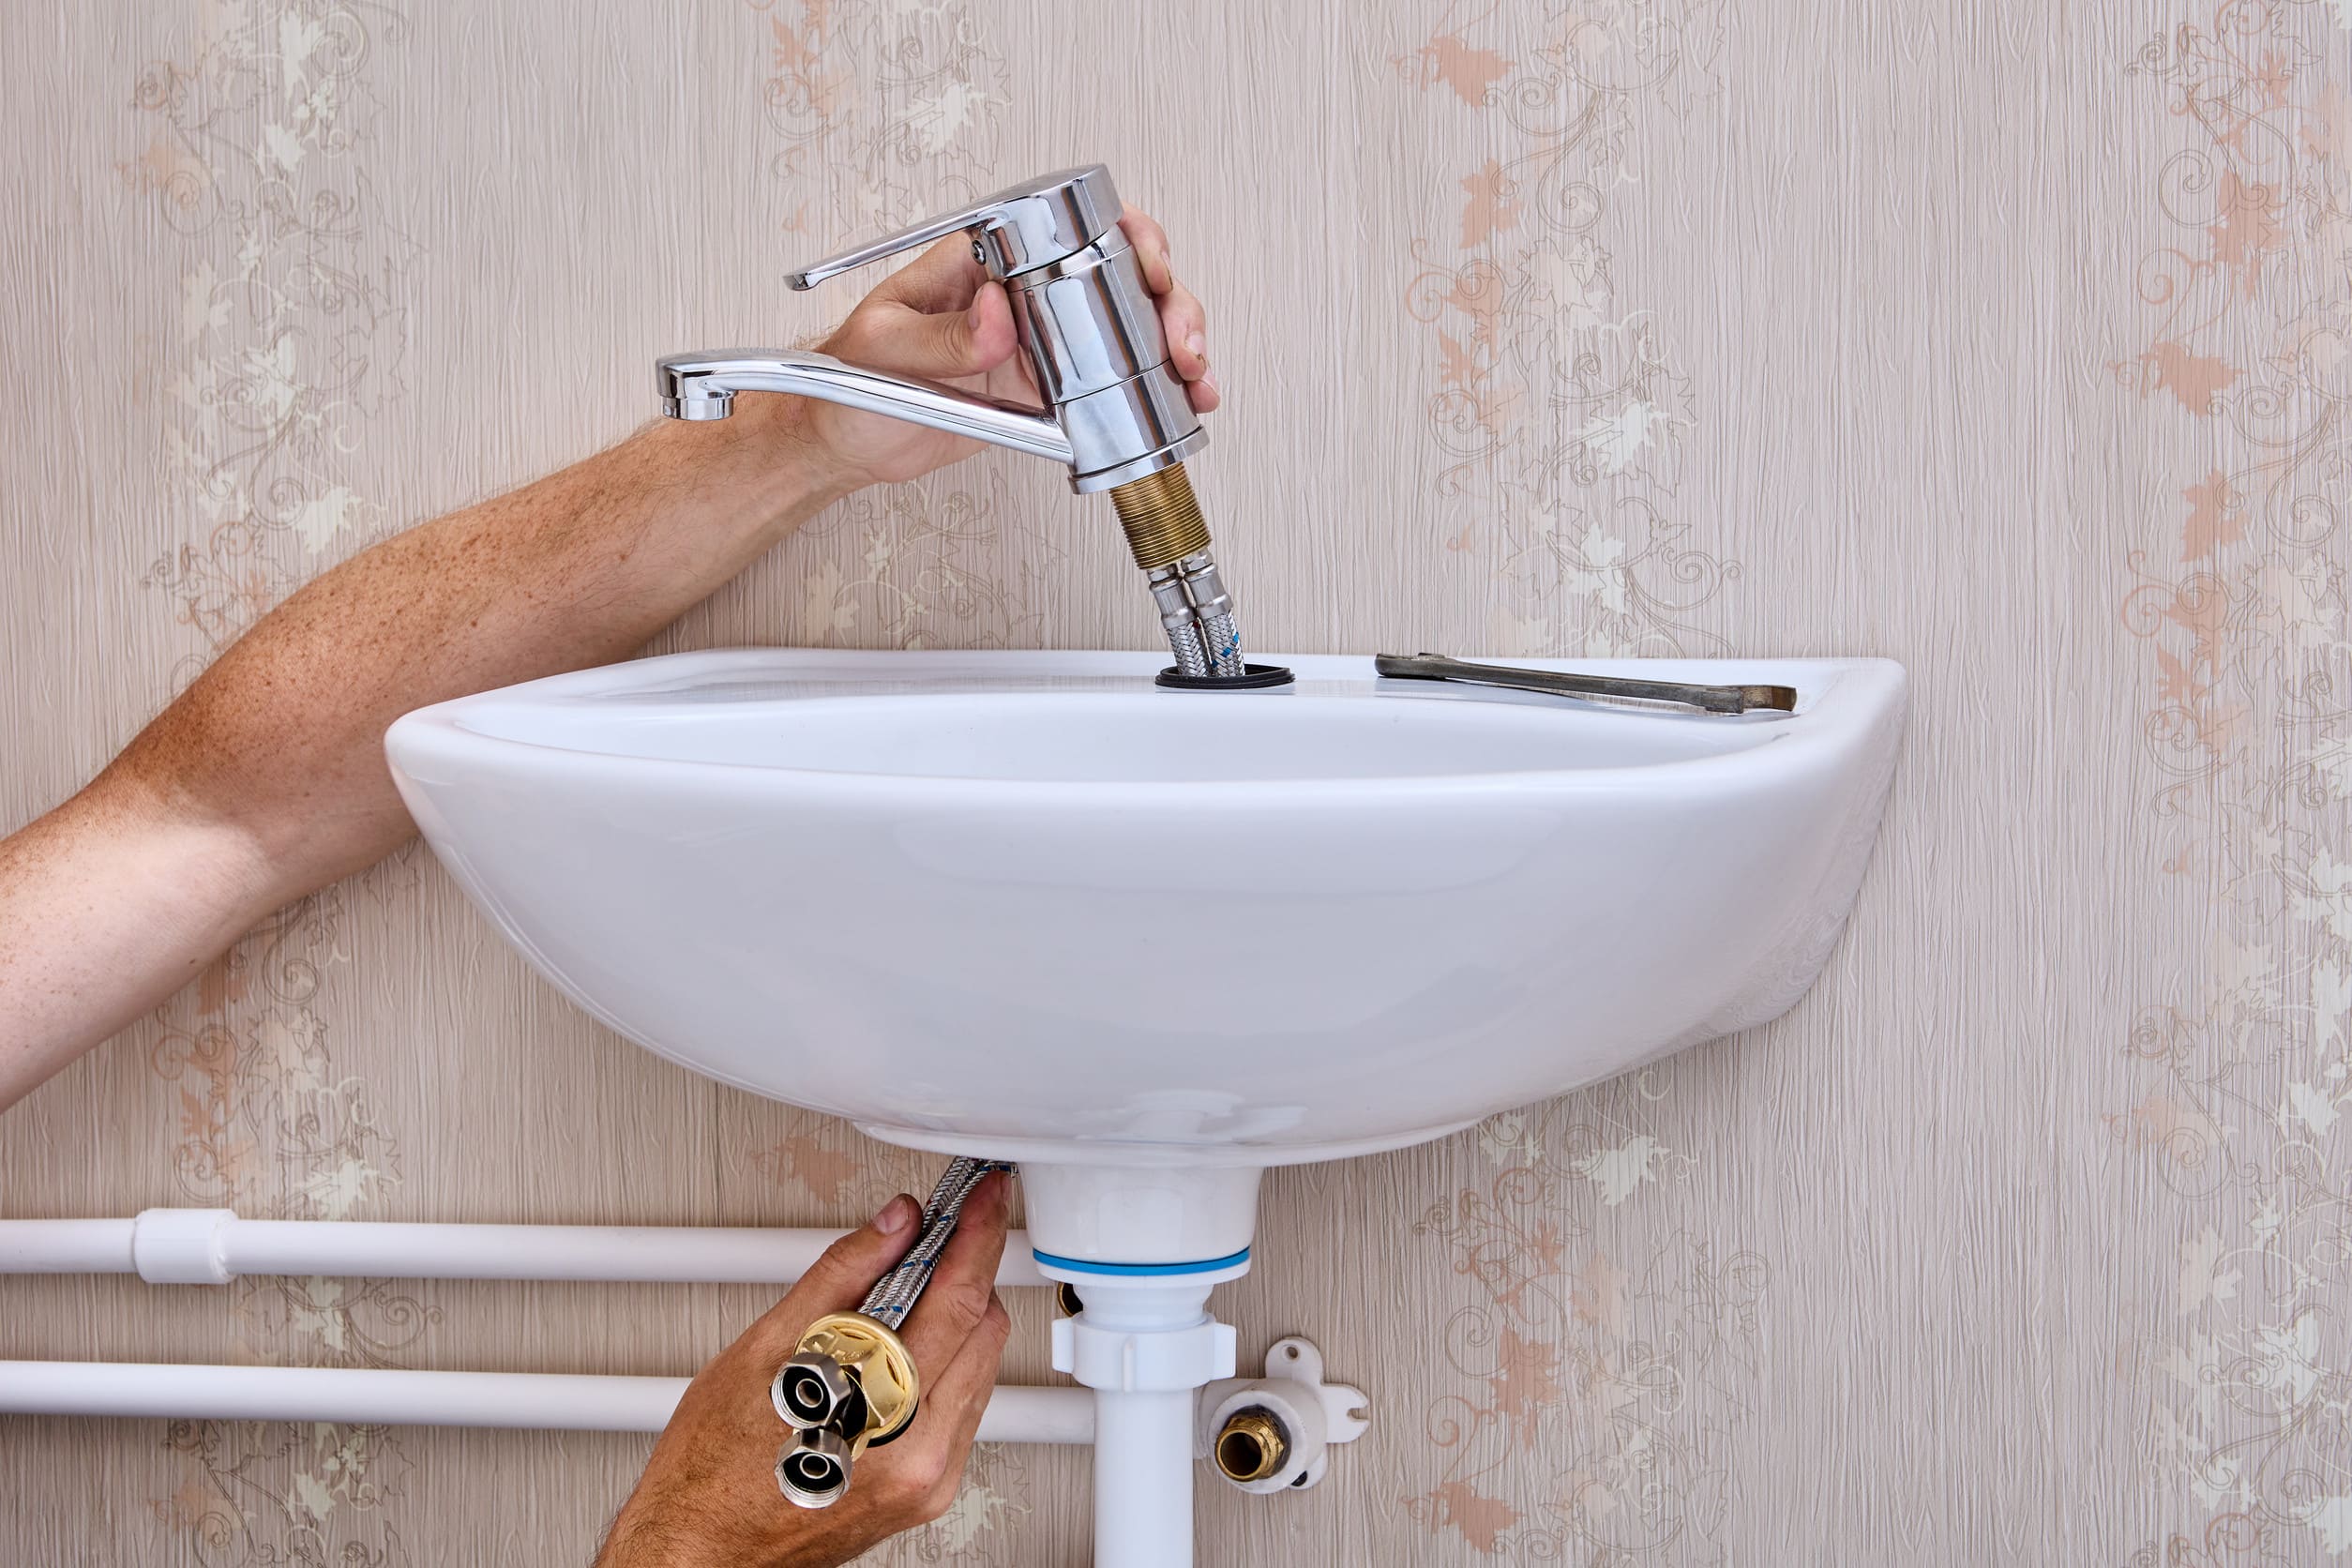
- Mixer taps: A mixer tap will combine hot and cold water through a single spout and are common in modern installations. Modern mixer taps often use cartridges with ceramic discs instead of traditional rubber washers, requiring specific replacement parts when they break.
Understanding the type of tap is crucial for selecting the right replacement parts.
Necessary tools and materials to fix a dripping tap
To fix a leaking tap, you’ll need the following tools and materials:
- Adjustable spanner or wrench
- Screwdriver (flat head screwdriver or Phillips, depending on your tap)
- Replacement washer, O-ring, or cartridge (depending on tap type)
- Plumber’s tape
- Cloth or towel
- Basin wrench (optional, for hard-to-reach areas)
NOTE: Some taps may have a hidden grub screw that needs to be removed to access internal components.
Step-by-step guide for fixing a leaking tap
1. Turning off the water supply
Common Mistake: Neglecting to turn off the water supply can result in water damage and potential injury.
Locate the shut-off valve (usually under the sink) and turn it clockwise to shut off the water supply. If there isn’t an individual shut-off valve, turn off the main water supply for the house.
2. Dismantling the tap
Common Mistake: Using the wrong tools or excessive force can damage the tap or its components.
- Use a screwdriver to remove the tap handle or cap. Look for the hot or cold indicator to locate the entrance screw, which may be hidden under the indicator.
- Use an adjustable spanner to unscrew the tap cover or bonnet.
- Carefully remove the internal components, noting their order for reassembly.
Replacing the tap washer or cartridge
Common Mistake: Not identifying the correct type of tap can lead to the wrong replacement part being used.
- For compression taps, replace the old washer with a new one of the same size. Ensure you have the correct replacement O-ring if the leak is due to a worn O-ring. Replace the tap washer if it is worn or damaged. If the leak is from under the handle, replace the valve O-ring.
- For ceramic disc taps, replace the ceramic disc. For ceramic disc taps, replace the ceramic disc valve if it is damaged. Check if the two ceramic discs inside the valve body need replacement.
- For ball taps, replace the ball bearing and any worn seals.
- For cartridge taps, replace the cartridge with a new one of the same model. Identify the type of tap valve to ensure you use the correct replacement parts.
4. Reassembling the tap
Common Mistake: Reassembling the tap incorrectly can lead to continuous leaks or a malfunctioning tap.
- Reassemble the tap in the reverse order of dismantling.
- Ensure all components are correctly aligned and securely tightened.
- Wrap plumber’s tape around the threads to ensure a tight seal.
Testing for leaks
Common Mistake: Failing to test the tap properly after repair can result in missing further issues.
- Turn the water supply back on.
- Slowly open the tap and check for any leaks around the tap seat or spout.
- If you notice any leaks, turn off the water supply again and check the components for proper assembly.
Tips to prevent future leaks
Dripping taps can be a major source of water wastage and higher utility bills, so it’s important to address them promptly.
Regularly check and replace washers and O-rings to prevent wear and tear.
Avoid using excessive force when turning taps on and off.
Ensure water pressure in your home is not too high, as this can cause leaks over time.
When to call a professional
If you’ve followed all the steps and the tap is still leaking, it may be time to call in the experts. Plumbing issues can sometimes be more complex than they appear, and a professional plumber has the experience and tools to diagnose and fix the problem efficiently.
Don’t let a leaking tap ruin your day. Get help from the pros!
If you’re unsure about any part of the process or need professional help, get in touch with Plumbernow today for a free quote. Our expert plumbers are ready to provide an efficient and reliable solution to keep your home plumbing running smoothly.

